Containerizing a React Application and Enhancing Security with Let’s Encrypt SSL Certificates
Initialize React application
Begin by establishing a React application, either by utilizing your current project or, for the purpose of this blog post, generating a fresh React application with Vite.
Vite serves as a development tool, and if you haven’t already, you might need to install it globally on your system. The installation of Vite can be accomplished globally through npm or yarn.
In this tutorial, we will opt for yarn as our package manager.
$ yarn create vite react-docker --template reactNow we change the directory to react-docker, which is the folder where our app was scaffolded.
$ cd react-docker/Install project dependencies
Install the project dependencies using yarn:
$ yarn installRunning our react application
Let’s verify the app by running the yarn dev command inside the project director to start the development server.
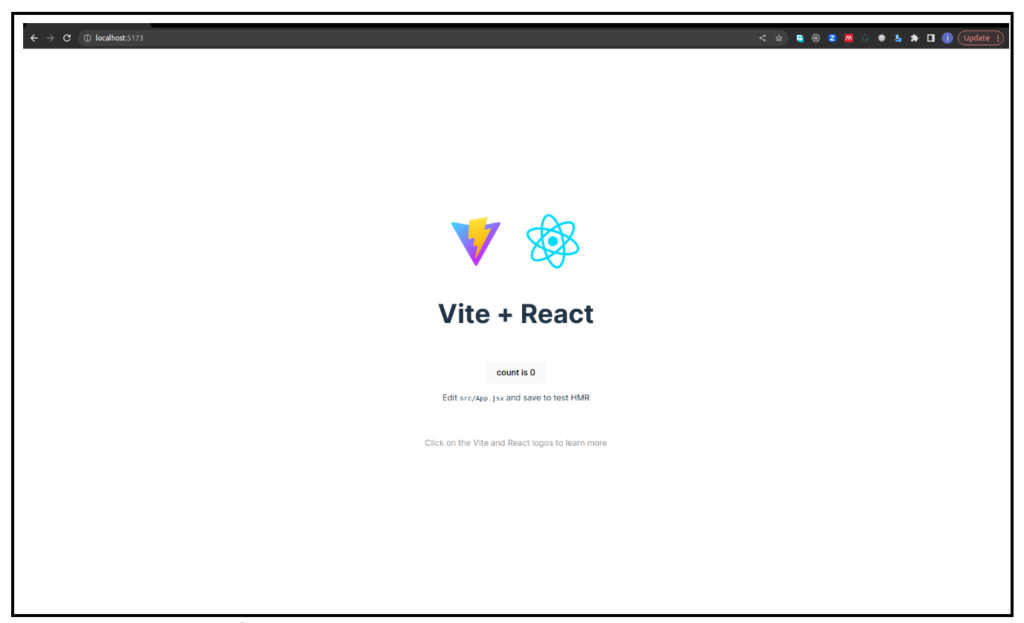
$ yarn devThe development server will initiate, enabling you to access your React application through your web browser at the default URL http://localhost:5173.
Now, let’s commence the process of containerizing the React application we’ve just established.
Creating the Dockerfile
Now let’s create a Docker image for the React application. We need a Dockerfile to create Docker images.
Let’s create a file named Dockerfile in the root directory of the React application with the following configurations. This file defines how to build the Docker image for your React app.
$ nano Dockerfile# Use an official Node.js runtime as the base image
FROM node:14-alpine AS builder
# Set the working directory in the container
WORKDIR /app
# Copy package.json and package-lock.json to the container
COPY package.json ./
# Copy yarn.lock and to the container
COPY yarn.lock ./
# Install dependencies
RUN yarn install --frozen-lockfile
# Copy the rest of the application code to the container
COPY . .
# Build the React app
RUN yarn run build
# Copying built assets from builder
FROM nginx:1.19-alpine
# Copying built assets from builder
COPY --from=builder ./app/dist/ /usr/share/nginx/html
# remove the default nginx.conf
RUN rm /etc/nginx/conf.d/default.conf
# Copying our nginx.conf
COPY nginx.conf /etc/nginx/conf.d/default.conf
Here We are using node v18.17 alpine as the base image to build and run the application.
Ignore unwanted files
We also need the .dockerignore file which will prevent node_modules and other unwanted files from getting copied into the Docker image.
$ nano .dockerignorenode_modules/
npm-debug.log
build
.git
*.md
.gitignoreServing our web files with nginx in the docker container
Also, since we will be using nginx we need to create the nginx.conf file in the root folder of our application with the following configurations.
$ nano nginx.confAnd this will be the content of the nginx.conf file
server {
listen 80;

server_name localhost;

location / {
   root /usr/share/nginx/html/;
   include /etc/nginx/mime.types;
   try_files $uri $uri/ /index.html;
         }

}
Create a Docker Compose Configuration:
Create a docker-compose.yml file in the root directory of your project to define the services for your React application and any other services you might need (e.g., a database, reverse proxy, etc.).
$ nano docker-compose.ymlIn this example, we define a single service called react-docker that uses the Dockerfile in the current directory to build the image which will be called react-docker-image as defined in the file.
version: "3.8"
services:
 react-docker:
   image: react-docker-image
   build:
     context: .
     dockerfile: Dockerfile
   container_name: react-docker-container
   ports:
     - "5173:80"
Testing the Dockerized application:
Begin by executing docker-compose build to construct the image as per the Dockerfile.
$ docker-compose buildOnce the build process concludes, initiate the Docker environment with docker-compose up -d to start your application.
$ docker-compose up -dRunning this command sequence will craft the Docker image for your React application and initialize the container.
Keep an eye on the terminal for any output from your dockerized react application. Your react application will be loaded in the browser using the following URL http://localhost:5173 as seen in Figure 1.
You can stop the dockerized react application by running docker-compose down.
$ docker-compose downConfiguring Apache to work as a reverse proxy for the traffic to the React docker container
Configuring Apache to work as a reverse proxy involves setting up the mod_proxy module along with related modules in Apache.
A reverse proxy allows Apache to forward incoming HTTP requests to another server. Here’s how to set up Apache as a reverse proxy on Ubuntu/Debian:
Installing Apache and the required modules
$ sudo apt update$ sudo apt install apache2 libapache2-mod-proxy-html libxml2-dev apache2-utilsThis will be followed by enabling the proxy modules.
$ sudo a2enmod proxy$ sudo a2enmod proxy_http$ sudo a2enmod proxy_html$ sudo a2enmod sslWe then configure the virtual hosts.
Create or edit the configuration file for your virtual host. You can use the default configuration file located in /etc/apache2/sites-available/000-default.conf or create a new one.
NB: Replace example.com with your actual domain or server name.
$ sudo nano /etc/apache2/sites-available/example.com.confAdd the following configuration inside the <VirtualHost> block:
<VirtualHost *:80>
ServerName example.com

<Location />
     Order allow, deny
     Allow from all
     Require all granted
   </Location>

     ProxyPass / http://example.com:5137/
     ProxyPassReverse / http://example.com:5137/
</VirtualHost>
Then we will enable the virtual host configuration and reload apache
$sudo a2ensite example.com.conf$ sudo systemctl reload apache2Test the reverse proxy by entering the http://example.com . in your browser. Apache will forward requests to the server, and you should see the content of your react application served.
Securing the dockerized react app with Let’s Encrypt
To include Let’s Encrypt SSL certificates in your Apache reverse proxy configuration, you can use Certbot, the Let’s Encrypt client, to obtain and manage SSL certificates. Here’s how to modify the previous configuration to include SSL:
Note ensure to have access to the authoritative DNS for the domain
Adding Let’s encrypt SSL and the apache plugin.
$ sudo apt update$ sudo apt install certbot python3-certbot-apacheRun the command below to obtain SSL certificates for the domain. Certbot will automatically configure Apache with the SSL certificate and modify your virtual host configuration
$ sudo certbot certonly --manual --preferred-challenges=dns --email admin@example --server https://acme-v02.api.letsencrypt.org/directory --agree-tos -d *.example.comNB: You will be prompted to add the acme TXT record to the authoritative DNS for the example.com domain.
Then your example.com-le-ssl.conf file will look like this after adding the let’s encrypt SSL certificates.
<IfModule mod_ssl.c>
<VirtualHost *:443>
     ServerName example.com
<Location />
     Order allow, deny
     Allow from all
     Require all granted
   </Location>
ProxyPass / http://example.com:5137/
    	ProxyPassReverse / http://example.com:5137/


SSLCertificateFile /etc/letsencrypt/live/example.com/fullchain.pem
SSLCertificateKeyFile /etc/letsencrypt/live/example.com/privkey.pem
Include /etc/letsencrypt/options-ssl-apache.conf
</VirtualHost>
Manually reload Apache with the following command
$ sudo systemctl reload apache2That’s it! Your React application is now dockerized ready for deployment and can be accessed securely in the browser using the URL https://example.com